Halloween in the early 80’s. It was the best of times, it was the worst of times. My mind can never decide if it goes there to recall fun Halloween memories or to relive unresolved Halloween trauma. More than likely, it’s a little of both. Let’s talk about the costumes of the early 1980’s.
For reasons I will never understand, someone back then thought it would be a good idea to mass-produce every superhero, cartoon character, and kids TV personality in plastic form. Apparently, parents were fully on board, since I remember all of my friends parading around in plastic costumes too. I still remember the square cardboard box they were neatly folded into. It had a clear window on top, proudly displaying a mask with the most hideous forms of Barbie, GI Joe, and Strawberry Shortcake you’ve ever seen.
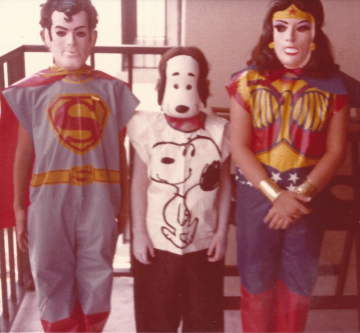
The costumes all had the same very distinct chemical smell that we happily wore while sweating profusely during our candy collecting. Plastic isn’t exactly the most breathable material and South Florida is still in the high 80’s this time of year. If that wasn’t bad enough, I was also painted white. That made me look exactly like Snoopy. The resemblance is uncanny, I know. As bad as my costume was, though, my brother as Superman and my cousin as Wonder Woman were 100 times worse…more like Super”creepy”man.
The silver lining to this costume calamity was that we lived in a high rise apartment building in downtown Miami at the time. The door-to-door candy gathering was very efficient. We stopped on every floor, each having around 12 apartments. If the building was 20 stories, that’s well over 200 different doors to knock on. We didn’t bother with the cute pumpkin-shaped buckets. The task required Hefty bags. We each had our own. They were so heavy by the end of the night that we had to drag them on the floor behind us to get them home.
As it turns out, a decent Halloween costume wasn’t the only thing I was deprived of as a child. I wasn’t introduced to pumpkin until well into my college years. I try to rationalize that by saying that pumpkin is just not a traditional Hispanic ingredient, at least not in Cuban or Nicaraguan cultures. It’s the truth though, and I think the only exception to that is the Mexican calabaza, which has grown there for thousands of years.
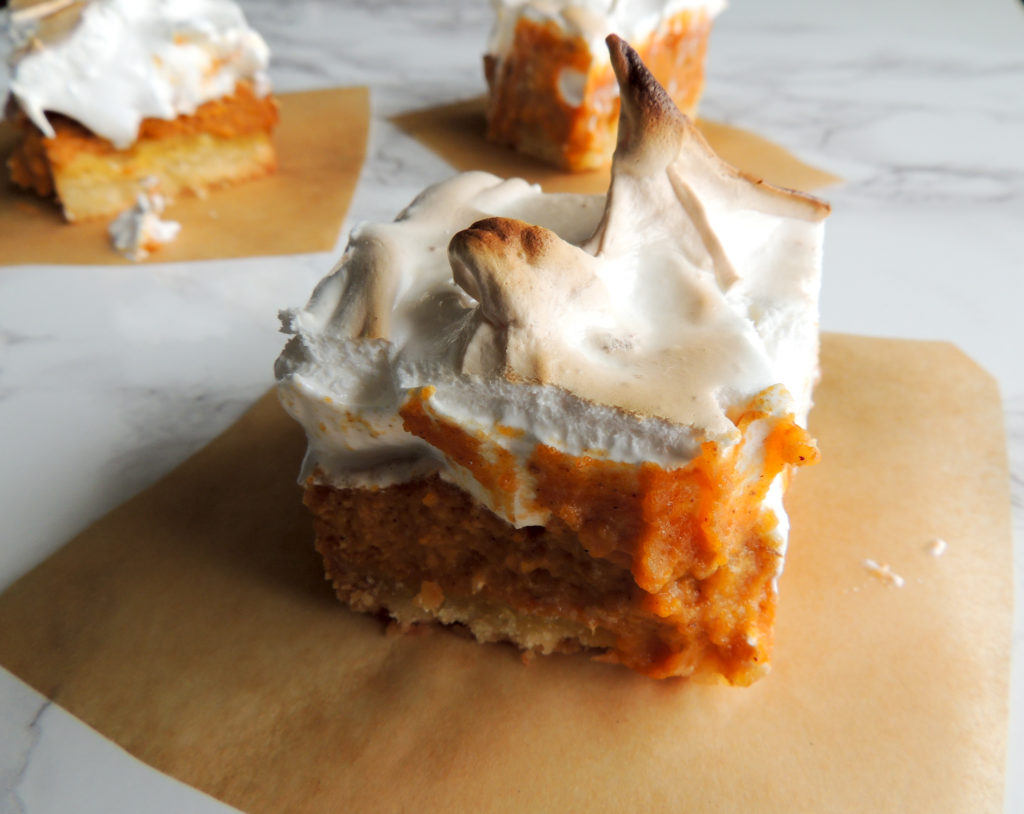
It turns out, I love anything with pumpkin, as do my three daughters and my husband. So, this time of year when the weather starts to change from 90 degrees to 85, pumpkin treats call my name…and I always answer. This time, by making these amazing toasted marshmallow pumpkin bars. This recipe is adapted from Dorie Greenspan’s award-winning book, Dorie’s Cookies. In the book, she makes these with sweet potato puree and calls them Sweet Potato Pie Bars, but mentions that pumpkin can be substituted just as well.
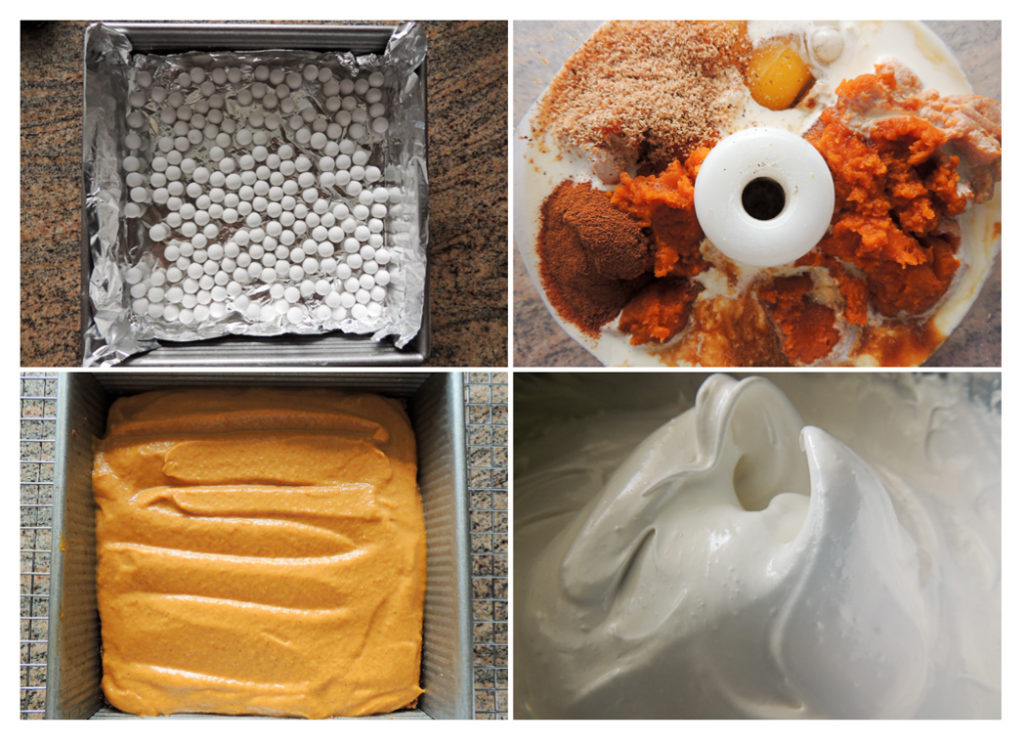
The buttery and tender vanilla cookie crust comes together quickly using a food processor, but you could use a pastry cutter too. The crust is blind-baked using dried beans or pie weights. I use these. The pumpkin filling ingredients are then mixed together using a food processor (no need to wash it after making the crust) or a mixer. It is poured into the crust and baked for a total of about 25-30 minutes.
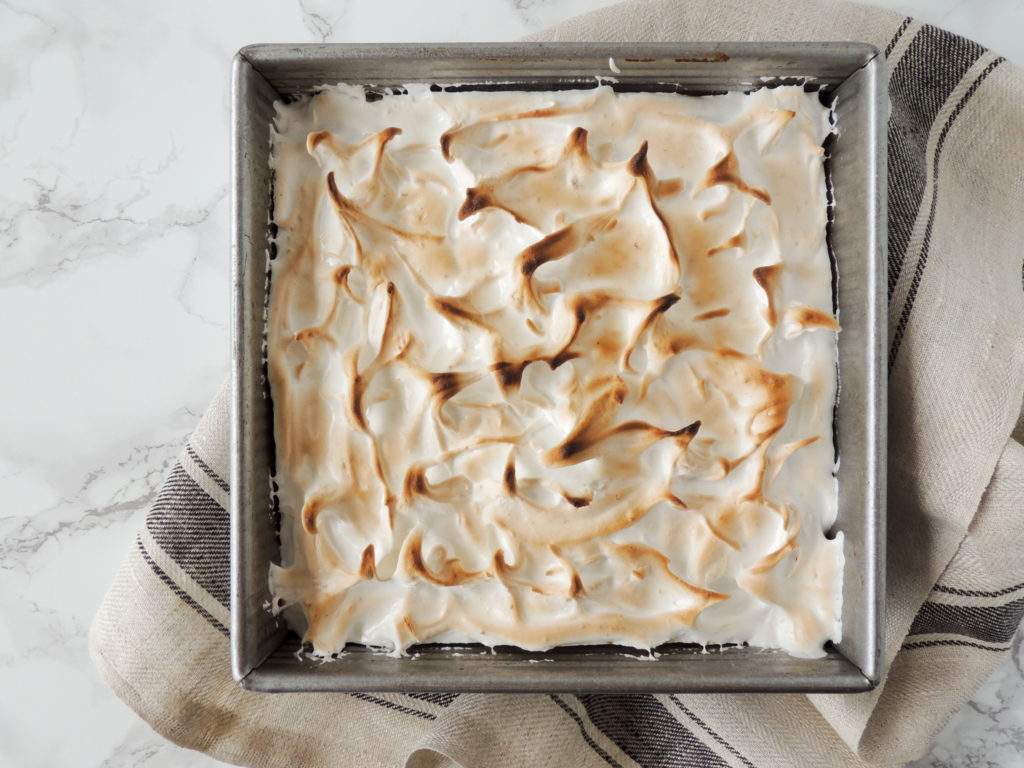
The marshmallow topping is optional, but elevates these to another level. In the book, store-bought marshmallows are used, which is easy and still tasty. Here, I opted for a homemade marshmallow cream, which if you have an extra 20 minutes and a candy thermometer, is so worth it. If you want to go that route, I suggest making the marshmallow cream the day before. It keeps very well covered at room temperature. Either way, I am including recipes for making these with both the homemade marshmallow cream or store-bought marshmallows.
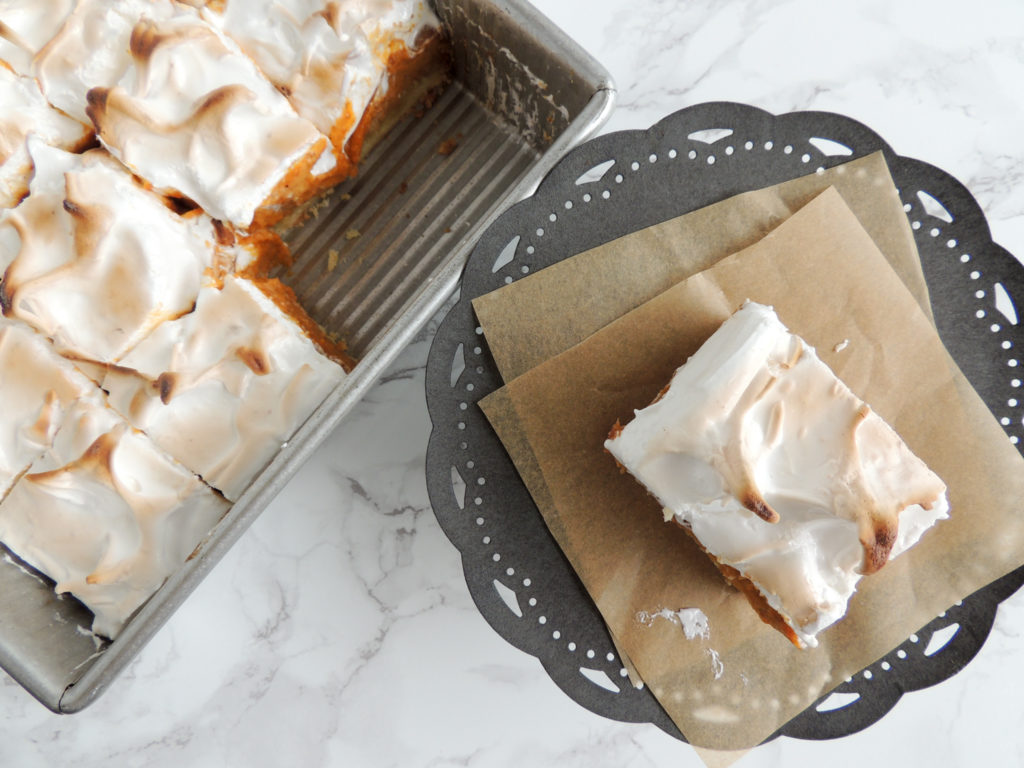
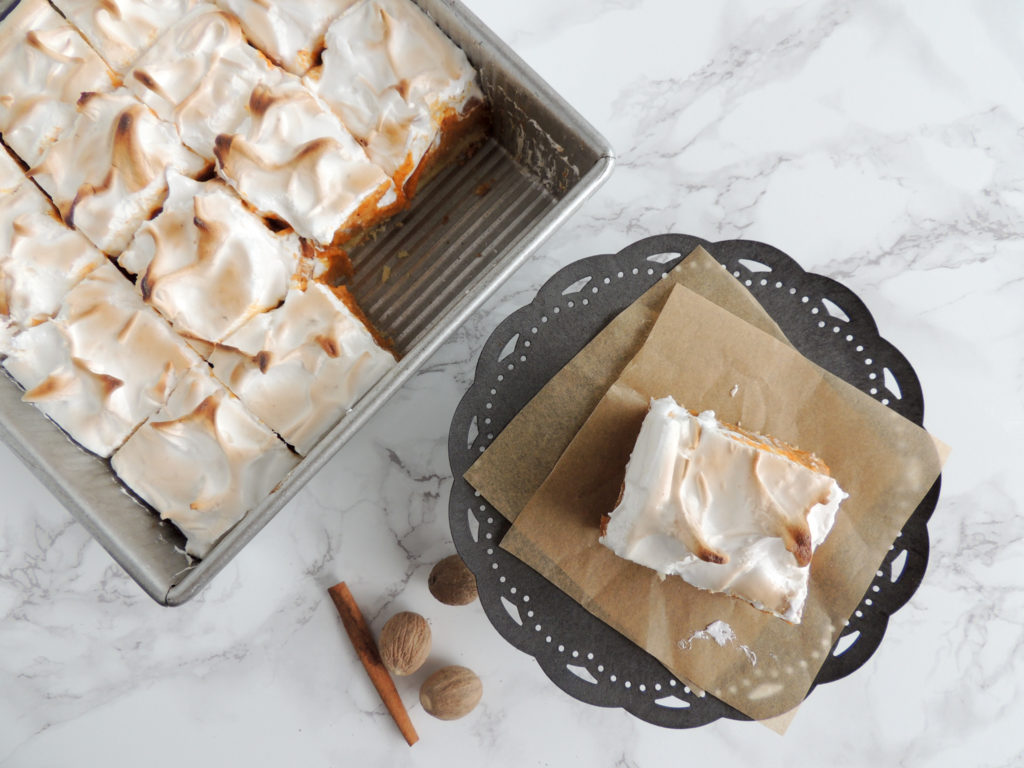
These toasted marshmallow pumpkin bars are a perfect Fall dessert…a delicious alternative to a traditional pumpkin pie and a great make ahead/cut ahead dessert for easy entertaining.
You might also like:
Toasted Marshmallow Pumpkin Bars
A perfect Fall dessert and a delicious alternative to pumpkin pie. These bars have a crispy cookie crust, delicious pumpkin filling, and toasted marshmallow topping.
For the Crust
- 1 1/2 cups all-purpose flour
- 1/2 cup confectioners sugar
- 1/4 tsp salt
- 9 Tbsp cold unsalted butter, cut into small pieces
- 1 large egg yolk
For the Pumpkin Filling
- one 15 oz can pumpkin puree
- 2 large eggs
- 1/2 cup heavy cream
- 1/4 cup buttermilk
- 1/4 cup pure maple syrup
- 1/2 cup packed light brown sugar
- 1 1/2 tsp vanilla extract
- 1 tsp ground cinnamon
- 1/4 tsp ground or freshly grated nutmeg
- 1/4 tsp salt
For the Marshmallow Topping
- 1 cup plus 2 Tbsp light corn syrup (I use Karo)
- 1 cup water
- 3/4 cup sugar
- 3 large egg whites
- 1/4 tsp cream of tartar
- 1/8 tsp vanilla extract
For the Crust
-
Grease a 9 inch square pan and one side of a square piece of foil, to be used to cover the crust before baking. You may use an 8 inch square pan too, but may need to bake the filling a few minutes longer.
-
Place oven rack in middle position and preheat the oven too 400 degrees F
-
Add the flour, confectioners sugar, and salt to a food processor and pulse 2-3 times to blend.
-
Add the butter pieces and pulse 3-4 times.
-
Add the egg yolk and process in long pulses, about 10 seconds each, until dough forms some clumps.
-
Add the dough to the greased pan, spreading it evenly and pressing it down compactly and in an even layer. Prick all over gently with a fork. Cover with the foil, greased side down. Add dried beans or pie weights to top of foil.
- Bake for 15 minutes at 400 degrees. Carefully, remove pie weights and foil. Return to the oven for about another 5 minutes until edges are golden brown.
-
Leave oven set to 400 degrees and place crust on a wire rack to rest while making the pumpkin filling.
For the Pumpkin Filling
-
Wipe crumbs from food processor bowl (no need to wash). Place all filling ingredients in bowl and process for about one minute, until smooth.
-
Pour filling into crust and bake for 10 minutes at 400 degrees, then lower oven to 325 degrees and bake for another 25-30 minutes, until filling is set and doesn’t jiggle.
-
Place on wire rack to cool until barely warm
For the Marshmallow Topping
-
Stir corn syrup, water, and sugar in medium saucepan over medium-high heat until sugar dissolves. Place a candy thermometer into mixture. Continue boiling syrup without stirring until temperature reaches 238 degrees. It will take around 12-15 minutes.
-
Meanwhile, in a heavy duty mixer bowl with a whisk attachment, add egg whites, cream of tartar, and vanilla.
-
Once thermometer reaches 230 degrees, beat egg whites at medium speed until soft peaks form.
-
Once thermometer reaches 238 degrees, carefully pour hot syrup into bowl with egg whites while beating. Beat until topping is thick and glossy, about 2 minutes.
-
To toast marshmallow, turn oven to Broil setting.
- Place most of the topping on top of pumpkin filling. You may have some leftover. Use back of soup spoon to form peaks decoratively in topping.
-
Place in oven for about 30-45 seconds watching closely the whole time. Do not walk away as marshmallow topping can go from light brown to burned in just a few seconds.
To use Store-Bought Marshmallows
-
You will need about 30 regular size marshmallows or 2 1/2 cups mini marshmallows. If using regular size ones, cut them in half and place them cut side down on pumpkin filling. Broil as described above in steps 5 & 7
Marshmallow topping may be made a day ahead and stored at room temperature
This looks delicious. I am not a cook but I hope to become one specially with your help. I am wondering what you mean by blind-baking. Thank you.
Happy to help Alejandra 🙂 Blind-baking is to bake a crust with no filling in it. Here, the crust is baked for about 20 min before adding the pumpkin filling. After the filling is added, it is baked again for another 35-40 minutes. Blind baking helps keep the crust from getting soggy.